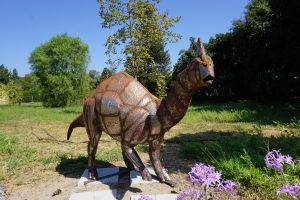
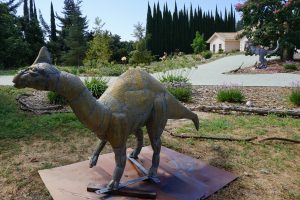
Like all the metal sculptures Angie goes through a process to protect her from the elements. The final finish is my imagination for what the particular Prehistoric Animal might have looked like. Since we don’t know positively (yet), I like to have fun with color. After all Birds are Dinosaurs descendants and look at the incredible variations in color Birds have!
As more preserved fossils are discovered and scientists develop new tools for examining them, a better idea of what colors they wore is revealed. Chemicals in the skin gave indications of a rusty brown color for the Ankylosaur discussed last week. Scientists believe the Micro-Raptor’s feathers where black and dark blue from the feather impression chemicals. Many other Dinosaurs and Pterosaurs have left clues to the colors they may have displayed.
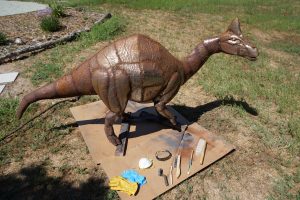
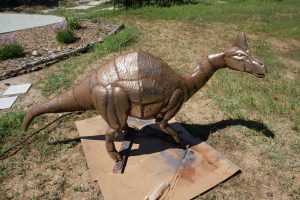
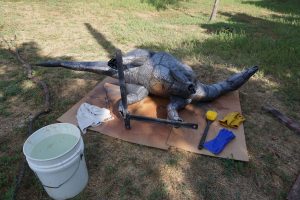
As mentioned in previous posts “Back to School at the Park!” and “Where Do Metal Dinosaurs Come From? …” Angie is the newest member at the Park. Since Angie is brand new, she has very little rust. So, the wire brushing won’t take long. I wear protect glasses to keep the dust out of my eyes and a mask to reduce the chance of breathing the dust from the brushing. It’s helpful to have various sizes of wire brushes to get into tight spots. I have attached a tooth brush to the opposite handle of a small wire brush for that very reason. Heavy duty gloves are great for moving the sculpture around, but I find the blue nitrile gloves provide more flexibility working with the brushes. A dusting brush for the final clean up and you’re ready for the next step.
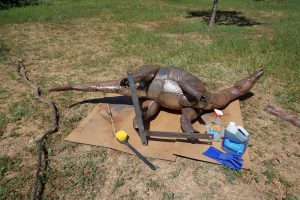
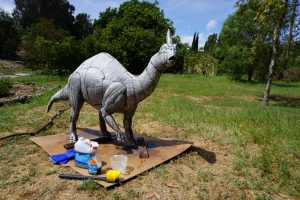
I placed Angie on her side for wire brushing to make it easier to reach all the underneath places. I start the acid washing on the side so it can drain while I work on the rest of Angie when she is returned to standing position. Make sure you wear eye protective when using the acid wash. The slightest breeze could blow it back at you. Thick rubber gloves, a brush, a spray bottle, a measuring cup that makes it easier to fill the spray bottle and of course the acid wash are needed at this step. I wear a hat that has cloth side panels to protect me from too much sun and for what the wind might blow my way.
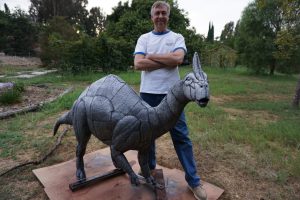
While applying the Acid Wash with the spray bottle use the brush to scrub the metal. When you have finished it will look a chalky grey color with black in places. Let it set over night.
I like to do the rinsing first thing in the morning to allow everything to completely dry during the day. Again, protective eyewear, a bucket of water, brush, gloves and towel will get you through this step. After you finish scrubbing off the acid residue, a light hosing might be needed. You may choose to towel dry or just let the sun take care of it. I like to get as much of the water off the metal asap. So, the towel works for me.
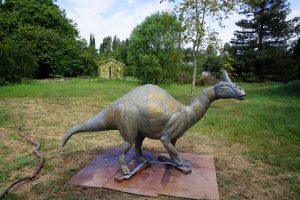
Note: I use Masonite Board under the Metal Sculptures to keep them off the dirt. The board is in 4 foot X 8 foot sheets. The Home Depot Team is kind enough to cut them into four 2 foot X 4 foot pieces at no charge. This makes it much easier to get them in my car. It also provides the flexibility to position them based on the shape of the Dinosaur vs. a fixed rectangle.
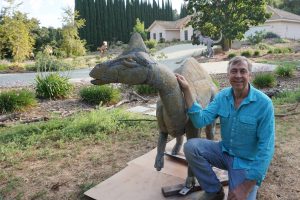
The color may vary after drying depending on the metal that the sculpture is made. Angie being an “Augustynolophus” California’s Official State Dinosaur is showing off some California Gold!
Stay Tuned for the Painting Process!
Halloween crafts are coming soon too! Although I noticed many stores are already shifting to Christmas Decorations. So, if you see something you like for Halloween don’t wait to buy it.
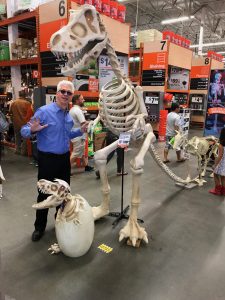
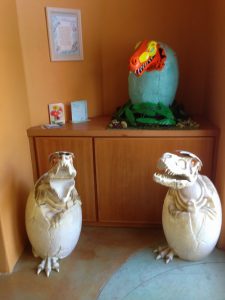
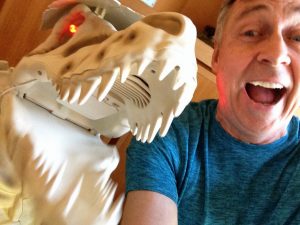
I picked up two T-Rex Hatchlings for Halloween at Home Depot. My neighbor Dan poses with the big T-Rex Skeleton! You may still be able to find them online!
“Encouraging the Appreciation of Art and Education through the Inspiration of Dinosaurs”
Paul & Prehistoric Pals
Your feedback is appreciated, Thank you!
