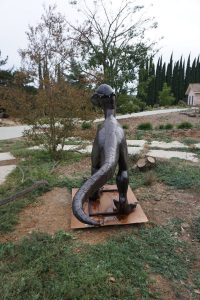
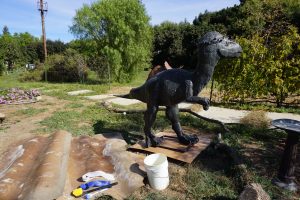
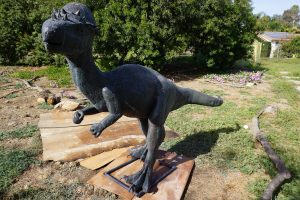
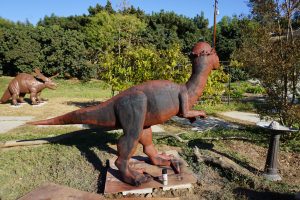
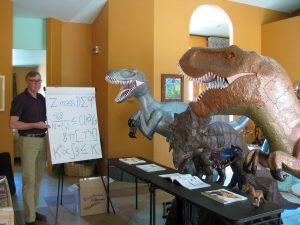
It’s always a good idea to select a site before adopting a Metal Dinosaur. Depending on the size you don’t want to be moving them around frequently. Mine are involved in many of my projects so they tend to travel the yard and inside the house from time to time. I have platform trucks and furniture dollies to help me when the need arises. Although, a couple of my neighbors swear they move around at night on their own! Well maybe they do. It’s one way to keep burglars away.
Again, size and location considerations. A spot where you will enjoy them and maybe visible to passersby depending your neighborhood restrictions (CC&R’s) if any. My neighbors slow or stop in front of my home frequently for their kids and out-of-town visitors to get a look.
Drainage conditions. Is this an area that water pools or floods during the winter? Sprinklers? Remember these are Metal and standing in water is not a good place for them to make a home.
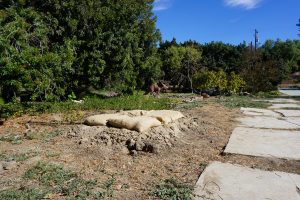
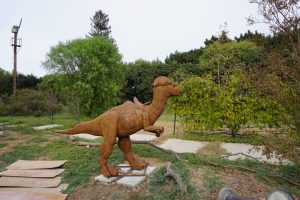
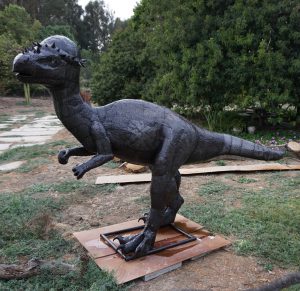
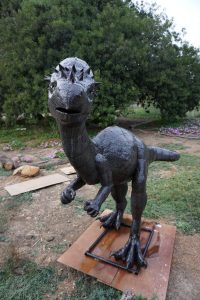
The spot for Pamela does flood during a rain storm. I have made a mound of dirt which I added burlap bags filled with sand to build it up higher. I will provide a concrete covering to give it the appearance of a large rock, which we will discuss in a future post. In the interim Pamela is in a temporary site for her makeover process.
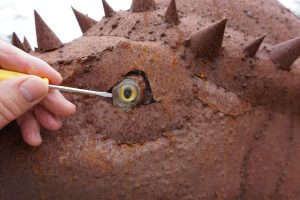
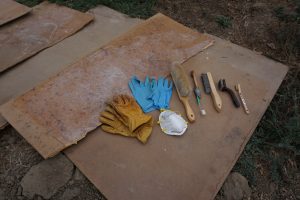
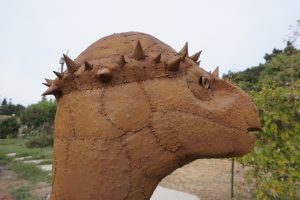
The First Step is to remove all loose rust. If your dinosaur has plastic eyes you may want to remove them if possible. Otherwise be very careful not to damage them with the wire brushing. Mine were inserted with silicone glue. The careful use of a small screw driver and they were out. I use different size wire brushes to reach all parts of the Dinosaur. Blue Nitrile gloves, leather gloves, protective googles, a breathing mask and a dusting brush for finishing.
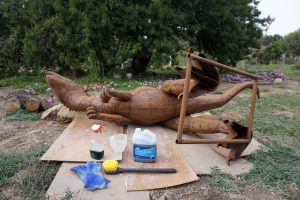
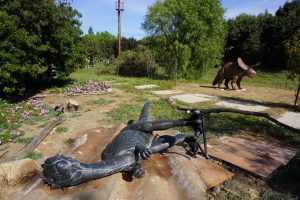
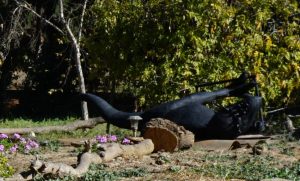
Now you are ready for the Acid Wash. Unless you like the look after the wire brushing and wish to clear coat at this point and be done. Again, make sure you have the proper tools to protect yourself. Long Rubber gloves, protective eyewear, mask, a hat, spray bottle and brush are necessities for this step. Placing your Dinosaur on its side makes it easier to reach the lower body as well as inside the legs. Using a spray bottle works best for me in getting the hard to reach areas. The brush helps with heavy rust spots. Stand your Dinosaur back up to allow the material to drain and finish the acid wash on those parts you could not reach while on its side. You will want to let the wash do its work over night.
The next morning again lay your Dinosaur on its side to rinse the acid wash from the under areas and inside the legs. Standing up to allow everything to drain and complete the rinse. The brush helps to remove the wash as well as using a damp towel. Allow to completely dry before using a rust converter. The converter changes any remaining rust to a primer. At the same time, it provides a flat black base before using a primer. Again, you may like this look decide to clear coat at this step and you’re done.
Stay tuned for the priming and addition of colors for Pamela!
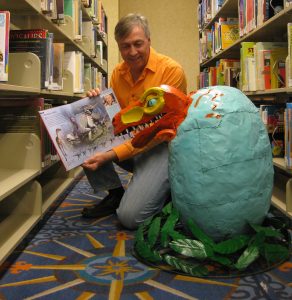
Remember Tomorrow Saturday January 20, 2018 at 12:00 pm Kevin the T-Rex hatchling & I will be at the
Avenue Library
606 North Ventura Ave
Ventura, CA
805 643-6393
For a Reading of Dinosaur Facts & Fun! Look Forward to Seeing You There.
“Encouraging the Appreciation of Art and Education through the Inspiration of Dinosaurs”
Paul & Prehistoric Pals
Your feedback is appreciated, Thank you!
