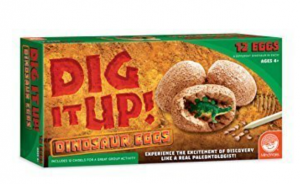
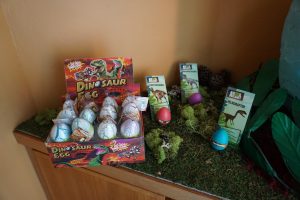
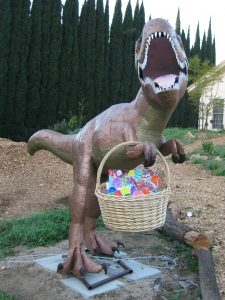
I found some fun activities with Dinosaur Eggs. Dig It Up! Dinosaur Eggs allow you to excavate a baby dinosaur from clay eggs. After soaking the eggs as recommended you use tools provided to remove the baby dinosaurs from the eggs. You can be a Paleontologist at home! These Eggs are expected to arrive by Tuesday the 27th. I’ll provide more details then!
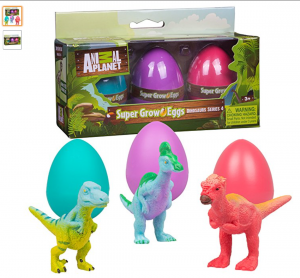
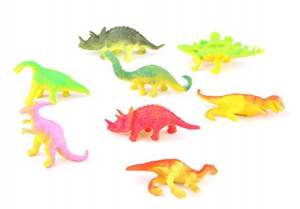
Hatch and Grow Baby Dinosaurs! There are a large number of products out there for hatching dinosaur eggs and growing the babies in water. Make sure you check for pictures of what they will look like when hatched. Not all the products provide this detail. Beauty is in the eye of the beholder. I find it best to choose from the products that provide images to avoid any disappointments. Pictures I found online of the hatchlings for a product I had already ordered were not to my liking. The size and design of the baby dinosaurs in the images were a letdown. Fortunately, I was able to return this product unopened for a full refund. I discovered 2 other Dinosaur Egg products that had images that were very pleasing – Animal Planet & Pampel. The Animal Planet Eggs came with nice cards that provide a few facts about the Dinosaurs you are hatching. All of the Dinosaur Eggs I located online at Amazon.com.
Note: I noticed a number of the products online use the same egg design and even boxes. So again, make sure you look for an image of the hatched dinosaur to avoid disappointments!
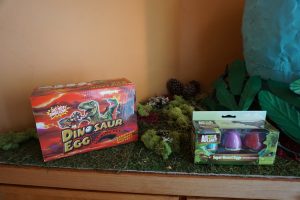
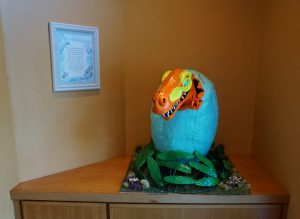
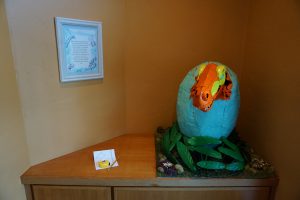
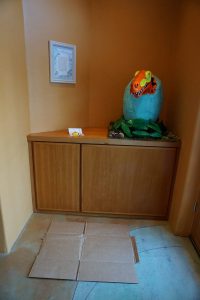
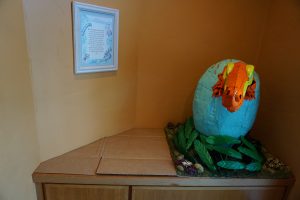
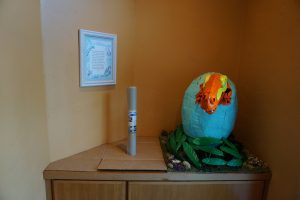
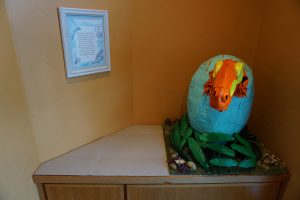
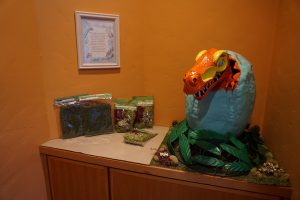
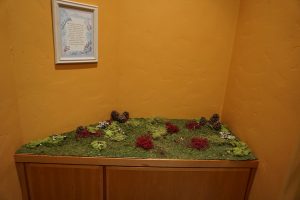
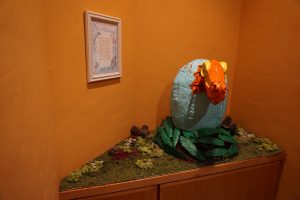
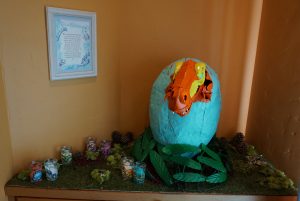
The Dinosaur Eggs project encouraged me to update Kevin the T-Rex hatchling’s area to cover the entire cabinet top. This will allow Kevin to keep an eye on the new Dinosaur Eggs hatching process. After careful measurement of the remaining space, I cut out a piece of cardboard from a used shipping container. It’s great when you can repurpose materials around the house.
Then it was off to Bed Bath & Beyond for more of the padding material for attaching to the cardboard with white glue. The material I used for the padding is lining for your silverware draw. A stop at Michael’s Arts & Crafts for adhesive moss and other types of moss to top off the base. The adhesive moss is very sticky. Make sure you cut to your needs before removing the backing. I found holding it in place with the backing still on. Then lifting a section at a time, peal back and cut off the backing. Next place the section without the backing in place. Lift up the next or remaining sections and remove the backing then place that section down and continue until finished. Take your time or you can end up with a tangled mess. The pine cones are from the yard. I made this extension the same way I made the area Kevin currently rests. Now Kevin can be anywhere on the cabinet top. Kevin likes to move around and the entire cabinet top is protected from his metal frame.
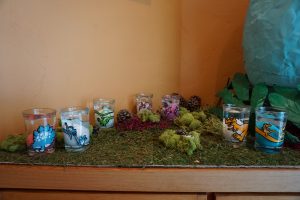
My Dinosaur Glasses from Welches jellies & jams will make the perfect hatching environment for these little guys. Welches provided them as containers for jellies & jams in the late 1980’s. Clearly, I was a mere child at the time (laugh but not too hard). I suspected they might be a limited offering, so I purchased as many as they had at my local market. I’m so glad I did. I haven’t seen them offered again. Even though I probably had a year’s supply of jelly & jam, it was worth it.
The Hatching & Growing process can take a few days. Look for the results in my next post along with some Dinosaur Egg Decorating ideas and Tales from the EasTer Rex & EasteRaptor. The Dinosaurs & I would love to hear about your Dinosaur Encounters just send us an email paul@paulsprehistoricpark.com Look forward to hearing from You!
“Encouraging the Appreciation of Art and Education through the Inspiration of Dinosaurs”
Paul & Prehistoric Pals
Your feedback is appreciated, Thank you!
