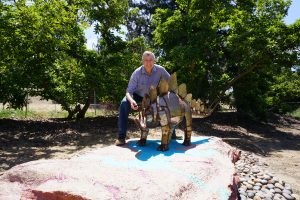
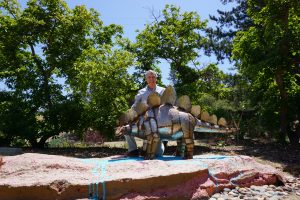
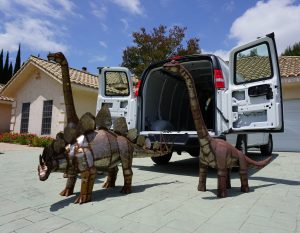
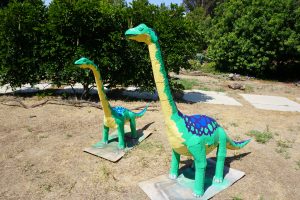
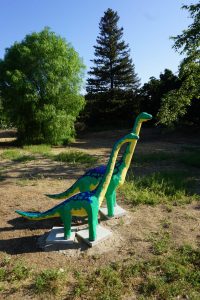
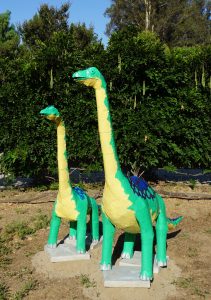
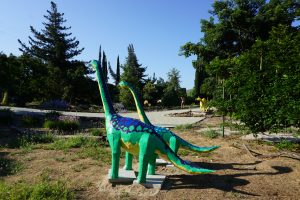
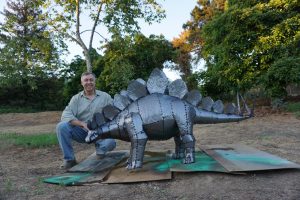
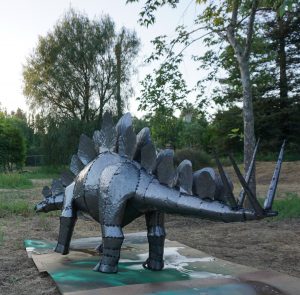
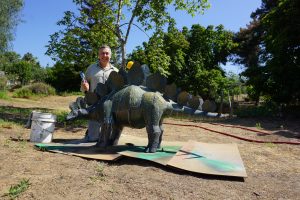
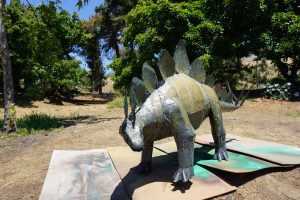
Stephanie joined the Park during Memorial Day Week. See post June 1, 2018 “Dinosaur Hunting – Trip to Templeton” for Stephanie’s Discovery. She arrived with two other friends Gary & Cindy also discovered in Atascadero, California. We have been talking about the Brontosaurs transformation the last five weeks. One more note on the Brontosaurs before diving into Stephanie’s makeover.
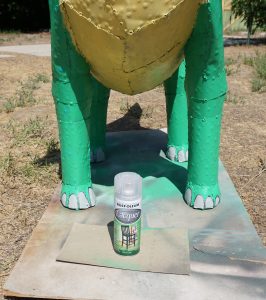
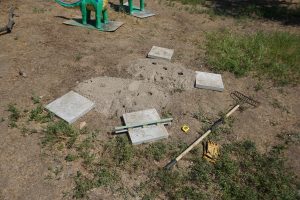
A Lacquer high Gloss coating was used for finishing their look. In addition, sand was used to level the area before placing Gary & Cindy on concrete stepping stones. At a future date a simulated rock base made from concrete will be created for the team of Brontosaurs. See posts May 11th, 18th & 25th 2018 for the process that was used for creating Pamela the Pachycephalosaurus’ new perch.
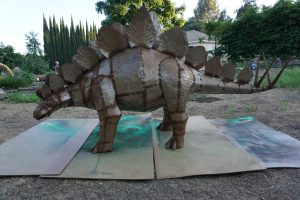
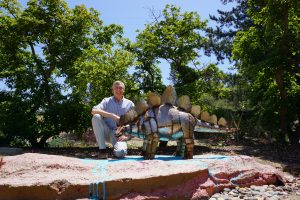
With Stephanie I was very tempted to just wire brush her and apply a high gloss lacquer. There is something about the design of the Stegosaurus that made it a very difficult decision to choose to paint? or not to paint? That is the Question. Hmmm that sounds like a play to me! Anyway, at this point you have many choices for finishing or just leaving to continue rusting. The later I just can’t do. I have some great ideas on how I can paint a Stegosaurus. So, painting was the answer for me.
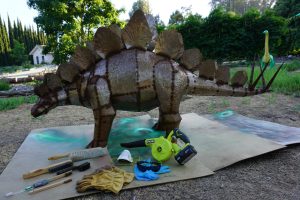
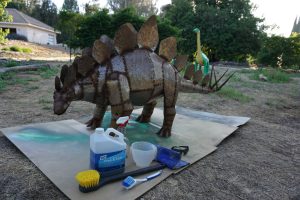
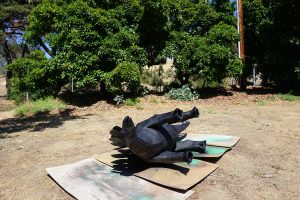
Make sure you have the proper tools – gloves, eye protection, breathing mask, assortment of wire brushes, dusting brush and a battery powered blower – which is great for keeping the work are clean. I always use the blue nitrile gloves for wire brushing. They give me greater dexterity than the leather gloves. The leather gloves are better for moving the dinosaur around. Stephanie was inside the store when I found her. Therefore, she had very little rust. Maybe that’s the reason I was so tempted to just clear coat her. The Acid Wash was also pretty easy on Stephanie due to the minimal rust. Be very careful with this process to protect your eyes and skin. Heavy rubber gloves are very important in this step. I lay the dinosaur on its side first to get underneath areas and inside the legs. Then standing position to finish. The wash should set over night.
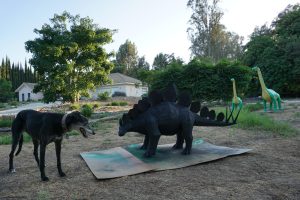
The next morning it was time to rinse the acid off and let dry. I use a bucket of water, a heavy-duty scrub brush, a small brush for the tight areas and a towel to make sure I have removed all the excess material. After completely drying a rust reformer can be used to convert all remaining rust to a primer and provide a base coating. You may like the color change from the acid wash and wish to stop and clear coat here. Again, I place the dinosaur on its side to get the rust reformer inside the leg openings and provide easier access to the underneath areas. The flat black from the rust reformer could also be a nice look for some dinosaurs. Clear coating at this step is also a choice. Paris my retired greyhound racer rescue likes this look.
Next week we will start painting Stephanie and learn about the Stegosaurus that roamed the earth millions of years ago.
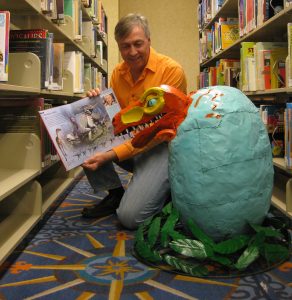
Remember August 30th is Story Time and “How to Draw a Dinosaur” at the Vernon Library in Los Angeles.
Check Out the Events Tab for more details!
“Encouraging the Appreciation of Art and Education through the Inspiration of Dinosaurs”
Paul & Prehistoric Pals
Your feedback is appreciated, Thank you!
