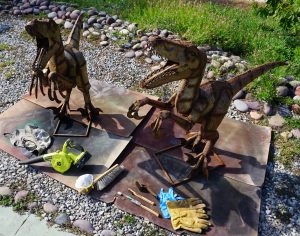
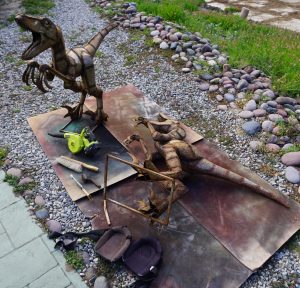
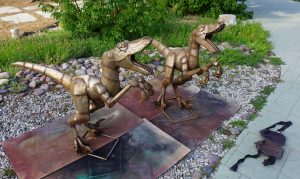
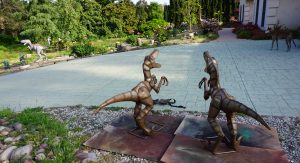
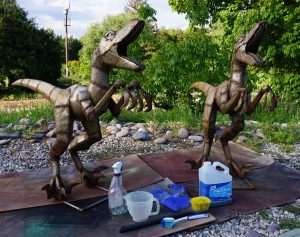
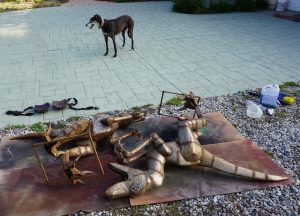
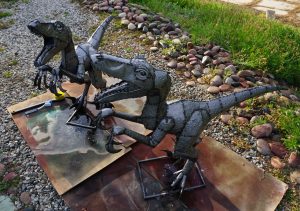
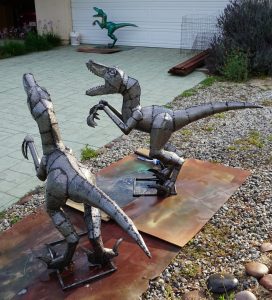
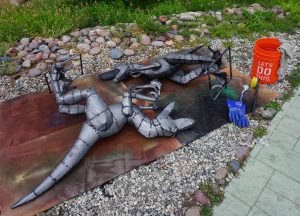
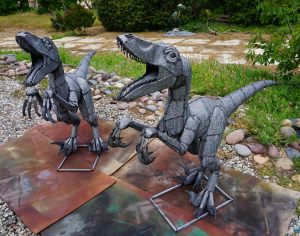
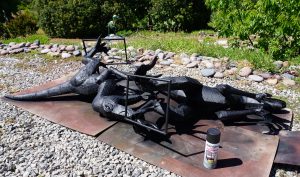
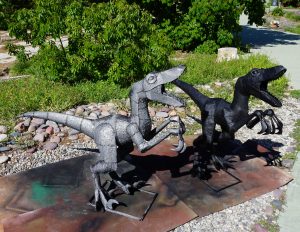
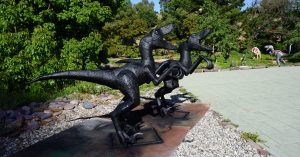
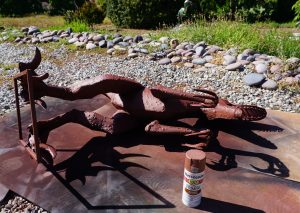
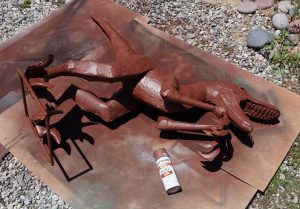
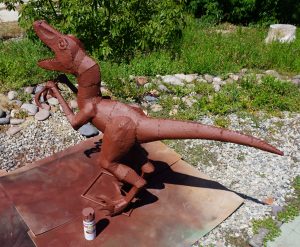
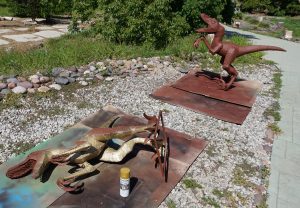
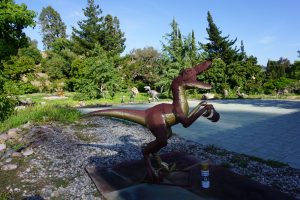
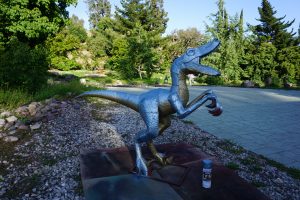
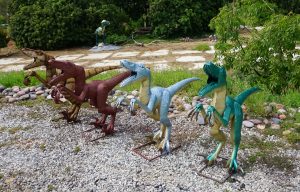
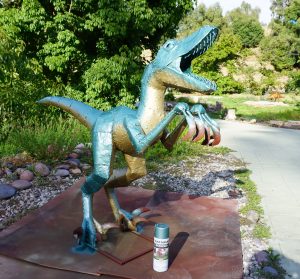
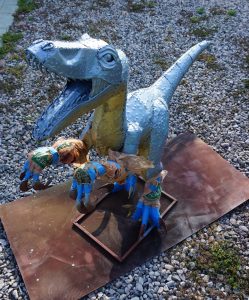
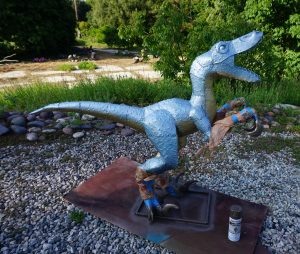
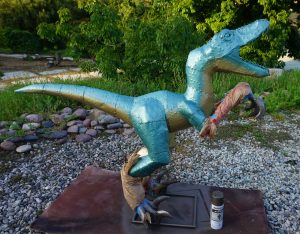
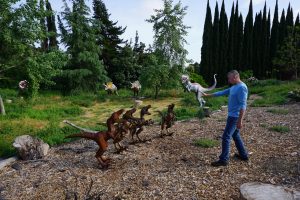
Before we proceed with Alan’s makeover, let’s catch up with two of the other four in this group – Blue & Charlie! Jadon the 4th Raptor of this size will receive a unique color combination that I will start later. As with the other Dinosaurs, 1st Step: Wire Brushing. Have the Proper Tools & Protection – Leather & Blue Nitrile Gloves, Various Sizes Wire Brushes, Dusting Brush, Blower, Protective Clothing, Knee Pads, Hat & Eye Wear. I start with the Raptors on their side to clean the bottom frame, inside the legs and the tight spots underneath. The knee pads are helpful for this part of the process. Upright to finish, dusting brush and blower to clean area. With this size Dinosaur it’s easy to do two at a time. If you are wondering how I know which one is which, Blue has additional metal details around her eyes. Also, Blue’s base frame is made of square pieces. Charlie’s has cylindrical pieces.
2nd Step: Acid Wash. Supplies needed Protective Clothing, Hat, Rubber Gloves & Eye Wear; Brushes; Spray bottle; Etching Acid; measuring cup or other container to transfer Etching material to spray bottle. Again, start with Dinosaurs on their side same reasons as above. Upright to finish. Remember to be very careful when spraying the etching acid. A gust of wind or quick change in its direction can blow the material back on You! Make sure you keep the little ones and pets out of range, as well. The brushes help with getting the material into heavy rust areas. Let set over night.
3rd Step: Acid Rinse. Supplies needed Protective Clothing, Hat, Rubber Gloves & Eye Wear; Brushes; Towel, Bucket & Water. For a large Dinosaur you may wish to use a hose. But for this size a bucket of water is all I need. Save water wherever You can! A damp towel is great for the final wipe down after brushing. Let Dry Completely.
4th Step: Rust Reformer. After You’re sure the Dinosaur is dry, spray on the Rust Reformer to provide a nice seal. Again, starting on the side. After a couple hours upright to finish. You may like the flat black look and decide to clear coat at this step. Or maybe add a few details eyes, etc.… and then clear coat.
However, these girls are getting some color.
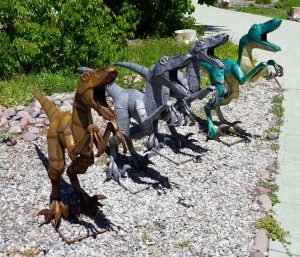
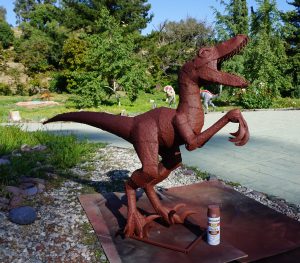
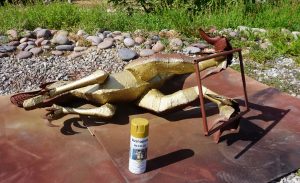
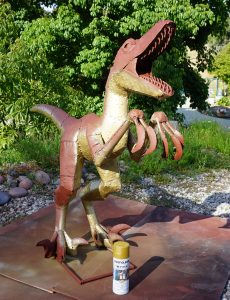
5th Step: Primer. I use the Rusty Brown Primer. I have used the white before too. If your base colors are very light you might consider the white primer. After a day to cure, it’s time for color.
6th Step: Painting. Gold Rush Metallic will be the underside color for both Blue & Charlie. Top color Hammered Light Blue for Blue, of course and Hammered Verde for Charlie. After allowing a day to cure, the Claws are masked off with blue tape and plastic bags. Hammered Brown is used for the Claws and base frame.
Now Blue & Charlie are at the same stage as Alan. Stay Tuned for additional Color Splashes for All Three and More Dinosaur Fun Facts!
“Antarctic Dinosaurs”
are waiting for You at
The Natural History Museum in Los Angeles
This is a Special Exhibit!
“Encouraging the Appreciation of Art and Education through the Inspiration of Dinosaurs”
Paul & Prehistoric Pals
Your feedback is appreciated, Thank you
