Are You Ready for Halloween?
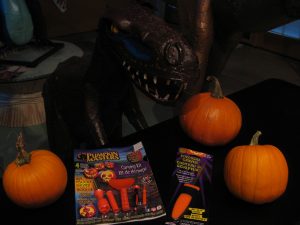
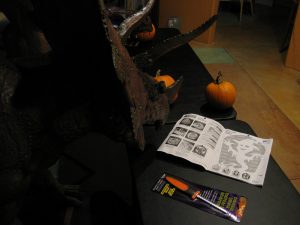
This year I decided to get some proper tools for pumpkin carving. I made a trip to Michaels and picked up a craving kit and a colossal carver. The carving kit comes with 16 patterns to create a scary Halloween pumpkin. They were 30% off too! Unfortunately, no dinosaur patterns! That’s OK I’ll make a few designs you can copy. Or you can be extra creative and come up with your own. I’d be interested in what you are willing to share.
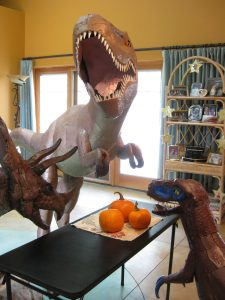
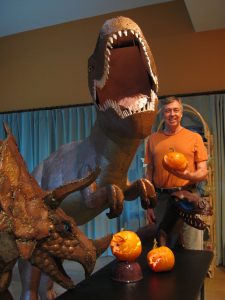
I have 3 small pumpkins to carve this year. A couple of years ago I threw the seeds of my Halloween Pumpkin near an avocado tree. This resulted in 2 pumpkins last year. I disposed of the seeds in the same place which resulted in this year’s 3 pumpkins. I must admit I didn’t do anything to help them along, other than watering. I think I’ll give them some attention this time around and see it I can grow some supersize pumpkins for next year. Let me know if you have any tips for growing pumpkins. Dominic is ready to start carving!
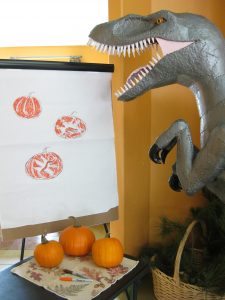
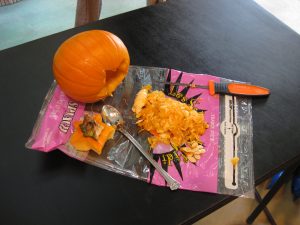
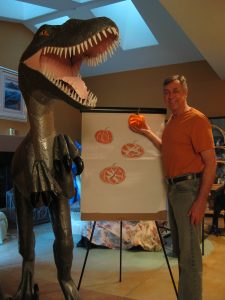
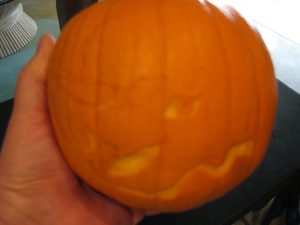
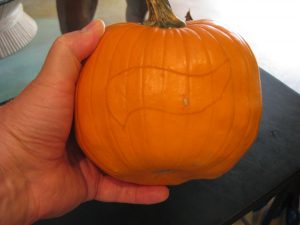
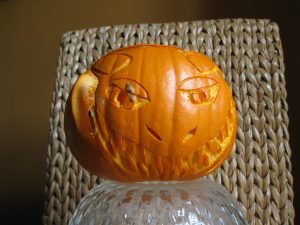
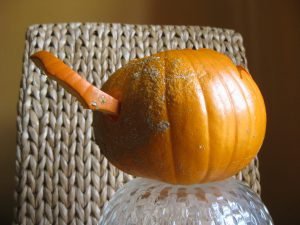
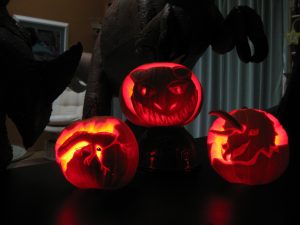
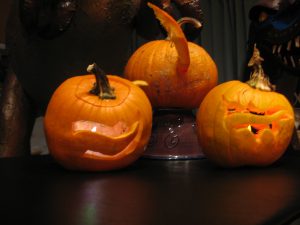
Raphael the Raptor has some ideas to share on the easel pad flip chart. A Compsognathuss hatching from the pumpkin on the reverse side its tail popping out. I like that idea so will use it on one of the 3 pumpkins. I highly recommend you make a few sketches on paper before drawing on your pumpkin. I use a pencil. Whatever you use make sure you can wipe it off or doesn’t show if you change your mind while making the cuts. I’m really glad I picked up the special pumpkin craving set. Considering how small these pumpkins are these custom tools made it much easier to make the detailed cuts I needed. I discovered that you should make your detailed cuts/scrapping before cutting out sections of the pumpkin. I didn’t do this with Compsognathuss and was unable to get the details on the mouth & teeth that I had plan. I didn’t want to risk breaking off the head. After completing the light carving/scraping make your cut to remove the top and clean out the inside of the pumpkin. I used an ice teaspoon. Its long handle and small spoon size was great for getting inside these little pumpkins.
These tools are sharp! I wouldn’t recommend letting a child do this and definitely not without adult supervision. Now you’re ready to make the final cuts to make your dinosaur stand out. Take your time and be careful. A mistake at this point could mean getting a replacement pumpkin! Carefully wipe off the loose scrapings and you’re ready to start on your next pumpkin.
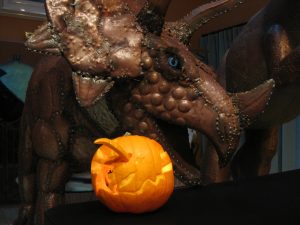
I decided on a Triceratops for number 2 and remembered to make the scrapings for under the head, the horn bases, the mouth and eye before cutting open the top and making the major cuts. I made a special cut on the back side above the tail to give me a piece to use for the second horn. It gives the Triceratops a nice 3D look don’t you think? After completing all the cuts. I carefully examined the horn piece and made a small hole on the face that I gradually widen to allow the horn to fit in snugly. Again, carefully rinsing off the pumpkin to remove any loose scrapings. I’m ready for number 3.
Note: I have a large aluminum mixing bowl in the kitchen sink to reclaim water from activities like this.
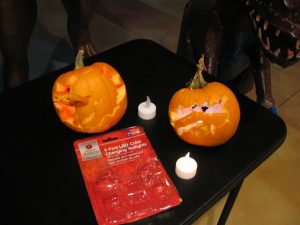
A Carnotaurus will be the final pumpkin. Carefully complete the detailed work around the horns, eyes, mouth and teeth before removing the top. Then remove top and clean out the inside. For the Carnotaurus, I wanted a tail to stick out the back of the pumpkin. I determined what I wanted it to look like and made a planned cut above the head to get the tail from the piece I was removing. You can see with this design the bottom of the mouth is the only part of the head connecting it to the pumpkin. Extra caution is necessary to avoid breaking it off! After rinsing, I made a small hole on the backside and widened as needed to insert the tail piece that I made from the cut above the head on the front side of the pumpkin.
Cleanup Ideas:
There are many ways you can use the pumpkin seeds other than planting. You can dry them, bake them use them in trail mix. The parts you cut out to make your design can be used to make a pie. Yes, I have done this. Nothing like a pumpkin pie made with fresh ingredients! Or you can compost everything.
Last year I picked up mini LED color changing candle lights (tealights) from Home Depot. They work and look great! And with these little pumpkins I needed something small. I think they’re mainly for Christmas but they’re perfect for this project.
I like the Triceratops pumpkin the best. Little Marc the Triceratop does too! Which one is your favorite?
With Halloween falling on a Monday you might consider cutting your pumpkin on Sunday. An occasional misting inside or soaking can help slow the deterioration and keep your pumpkin looking fresh longer.
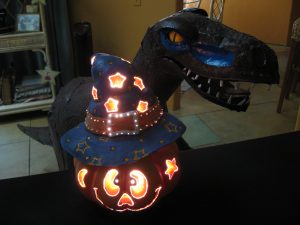
At the Park, we have a couple of Magical Pumpkins that I picked up at Costco a few years ago. You might see what they have if you wish to avoid the mess of craving. Michaels has some creative decorations, as well. Whatever you decide to do have fun and be safe!
Happy Halloween
Paul & Prehistoric Pals
